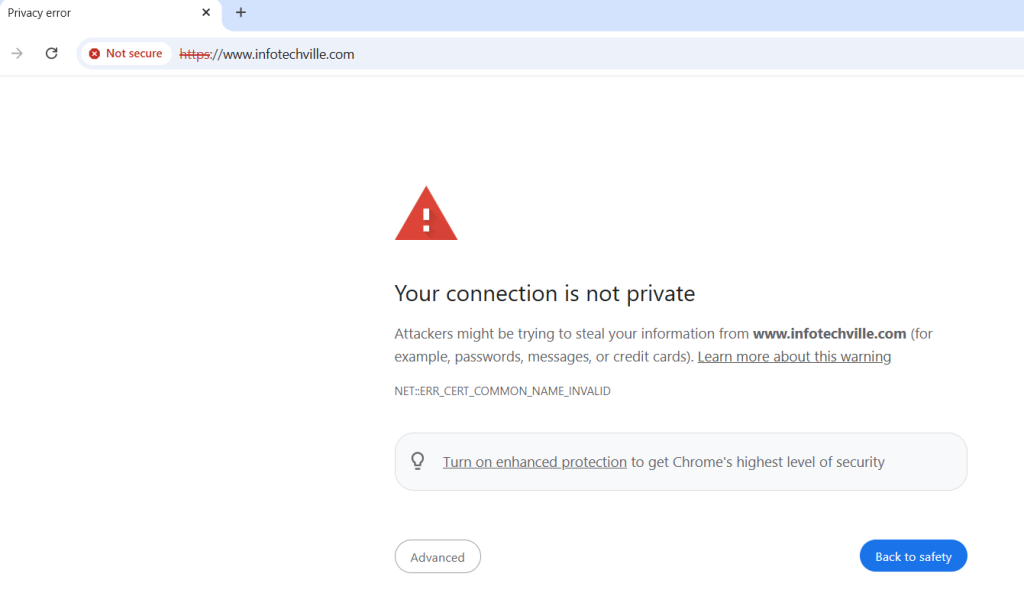
Sometimes, especially if a new domain name was just created/configured, we can see a message like ‘Your connection is not private’ (text may vary depending on browser’s version). Let’s see examples below.
Chrome (Your connection is not private)
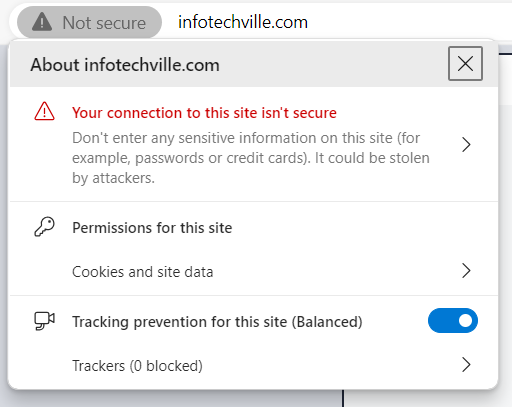
Microsoft Edge (Your connection to this site isn’t secure)
Mozilla Firefox (You are not securely connected to this site)
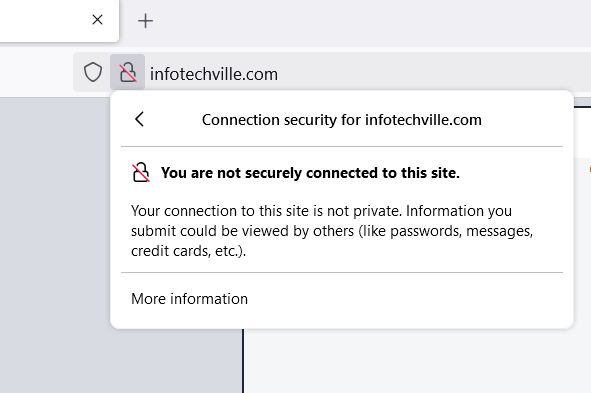
The main reason for this issue is an SSL certificate. A certificate for the site (domain name) can be absent or expired when a browser sends an https request to the server, and a secure connection can’t be established. We need to check it and add or update it. For the examples above there is no SSL certificate, we need to add it.
Some web hosting providers install SSL certificates for websites as a feature without additional fees. An example below
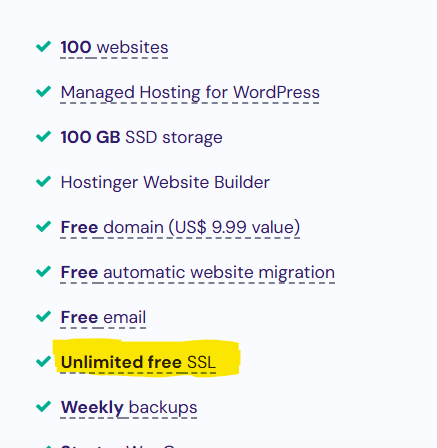
VPS administrators usually take care of and install SSL certificates on their own.
The domain name from the examples below doesn’t have a pre-installed certificate, the domain name has been configured in VPS, so an SSL certificate should be installed.
A free SSL option is available (Let’s Encrypt SSL with Certbot). A good instruction from Hostinger is provided here.
Below are the steps to install a free SSL certificate from Certbot:
1. Prepare the VPS and/or domain name
Before installing the SSL, make sure that your VPS:
– Has a web server running (eg. Apache, NGINX, etc.)
– The website hosted on your VPS is set up to be opened by entering the domain name on the address bar – not the IP (like from the examples above);
– The domain is fully propagated and pointing to your VPS child nameservers. Installing an SSL with Certbot while the domain is still propagating will create a self-signed certificate, which may cause errors when accessing your website
2. Install Dependencies
Certbot recommends using snapd for installation. Since snapd is not supported on some Linux-based VPS, you can use Python by installing it first on your server.
To start the process, connect to your VPS using SSH. Next, install the required dependencies (Python 3.6+, venv and Augeas) according to your OS:
For APT-based distributions (such as Debian or Ubuntu), run the following:sudo apt update
sudo apt install python3 python3-venv libaugeas0
For RPM-based distributions (Fedora, CentOS), use this command:sudo dnf install python3 augeas-libs
Notes:
– For older distributions that do not support dnf, use yuminstead
– Some RHEL-based distributions use python3xinstead of python3 (eg. python38). Please refer to the documentation of your Linux distribution
– If you have issues installing cryptography, you may need to install additional dependencies. Check this article for more information: Building Cryptography on Linux
3. Install Certbot
To prevent any conflicts with previous versions, remove any Certbot packages already installed before installing the newest version. You can use your package manager (apt, dnf, yum, etc.) for this.
Once it’s ready, run the following to set up a Python virtual environment:sudo python3 -m venv /opt/certbot/
sudo /opt/certbot/bin/pip install --upgrade pip
To install Certbot, run this on Apache:sudo /opt/certbot/bin/pip install certbot certbot-apache
Or this for NGINX:sudo /opt/certbot/bin/pip install certbot certbot-nginx
Next, create a symbolic link so that Certbot can be executed from any path:sudo ln -s /opt/certbot/bin/certbot /usr/bin/certbot
Install and activate SSL for your websites and have Certbot do all the configurations by executing the following command for Apache:sudo certbot --apache
For NGINX:sudo certbot --nginx
Note:
– To obtain only the certificates and configure the SSL manually, append certonlyafter certbot and before --apache or --nginx.
Since the SSL is active for 90 days, it is recommended that automatic renewal is set up. You can do so by running the following:echo "0 0,12 * * * root /opt/certbot/bin/python -c 'import random; import time; time.sleep(random.random() * 3600)' && sudo certbot renew -q" | sudo tee -a /etc/crontab > /dev/null
Our server has Ubuntu and Apache so to install SSL certificates we’ve followed the steps for Ubuntu and Apache accordingly (please see below). Python was installed earlier and we skipped the preparation steps (p.2 – Install Dependencies), but you have to install dependencies if this is the first SSL installation.
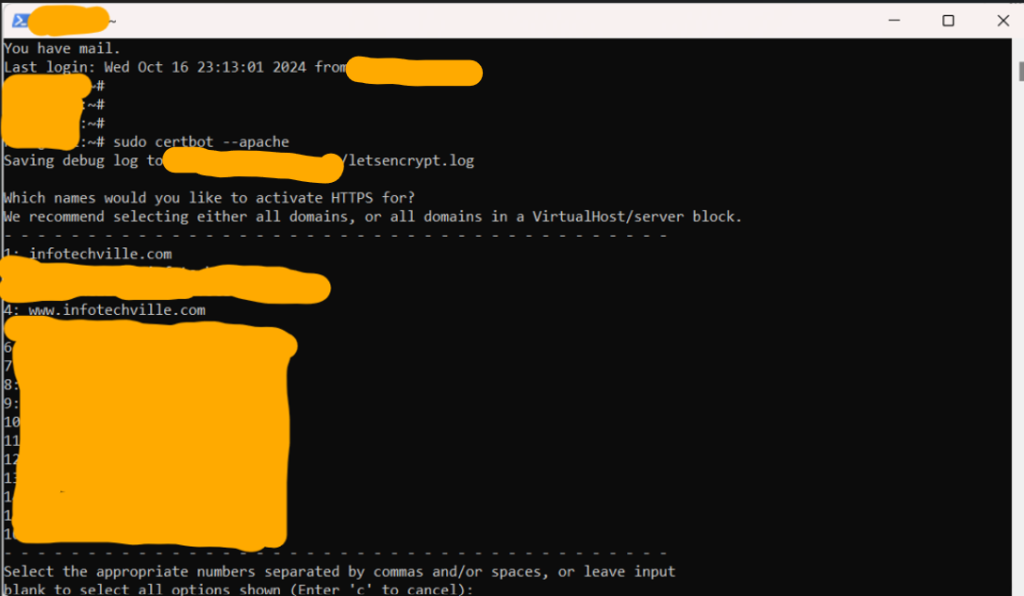
Selected numbers are separated by a comma. Please note that numbers can be different for your server, depending on what has been already installed earlier.
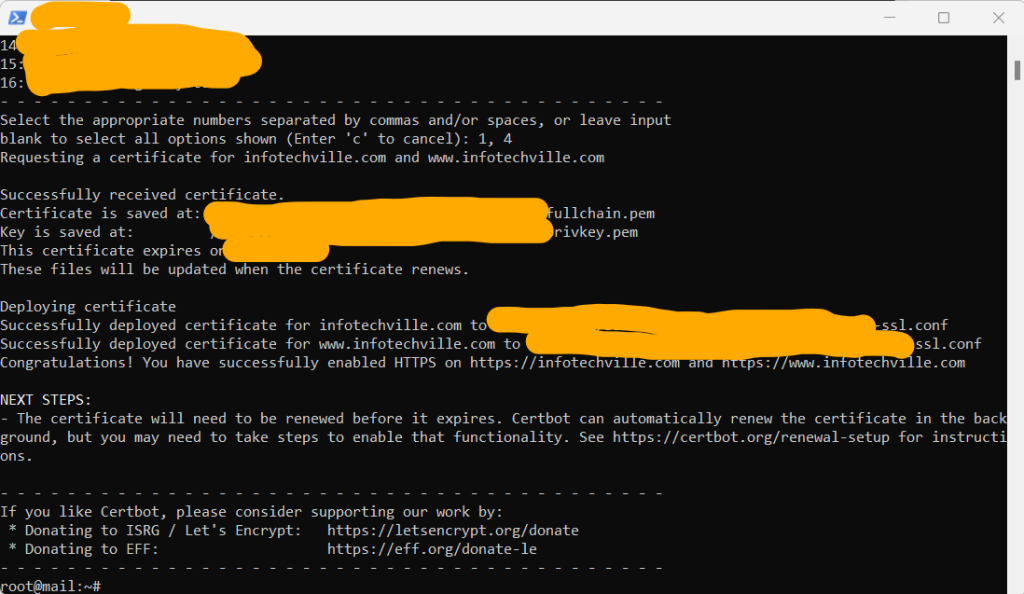
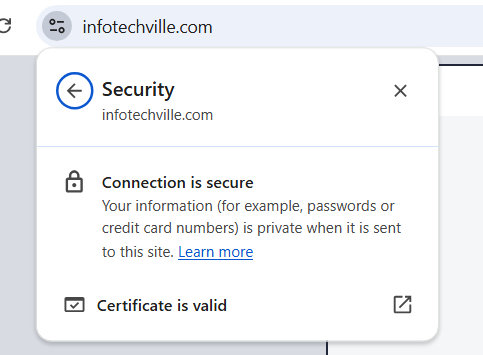
Let’s try in browsers:
Chrome
ME

As we can see SSL works. Just to create a reminder to update the certificates when it’s time.
Done.
